First let me say Happy New Year and I hope 2012 is filled with great things.
As my husband goes back to work and I settle back into my 'House Wife' days its a great opportunity to sit back and look for things around the home that need improvement. One thing that is lacking in our little home is storage, so I have made it my mission in January to create more space. This means organising our stuff better and taking advantage of the little space we do have.
This brings me to what I would like to share with you today.
I first had to relocate what little was in the boxes. This was easier then I thought. What I had previously kept in 5 boxes I was able to reorganise into 2 of my other half used boxes. So now I have 5 boxes to play with.
All you really need for this project is scrap papers, PVA glue, water, old paintbrush, old plastic tub, a cutting mat or news papers to protect your surface and some boxes to upcycle.

Mix your PVA glue in with some water. It should be nice and cloudy but still very runny. Use the plastic tub for this.


Using your paintbrush wet the box surface and lay the tissue paper on the box. Make sure the paper is wet through. I like to brush more glue water over each piece of paper. Do this until the box and it's lid is covered.


Let it dry and repeat until you like the coverage. I have left the lid a little bit less covered as i like the effect it creates.

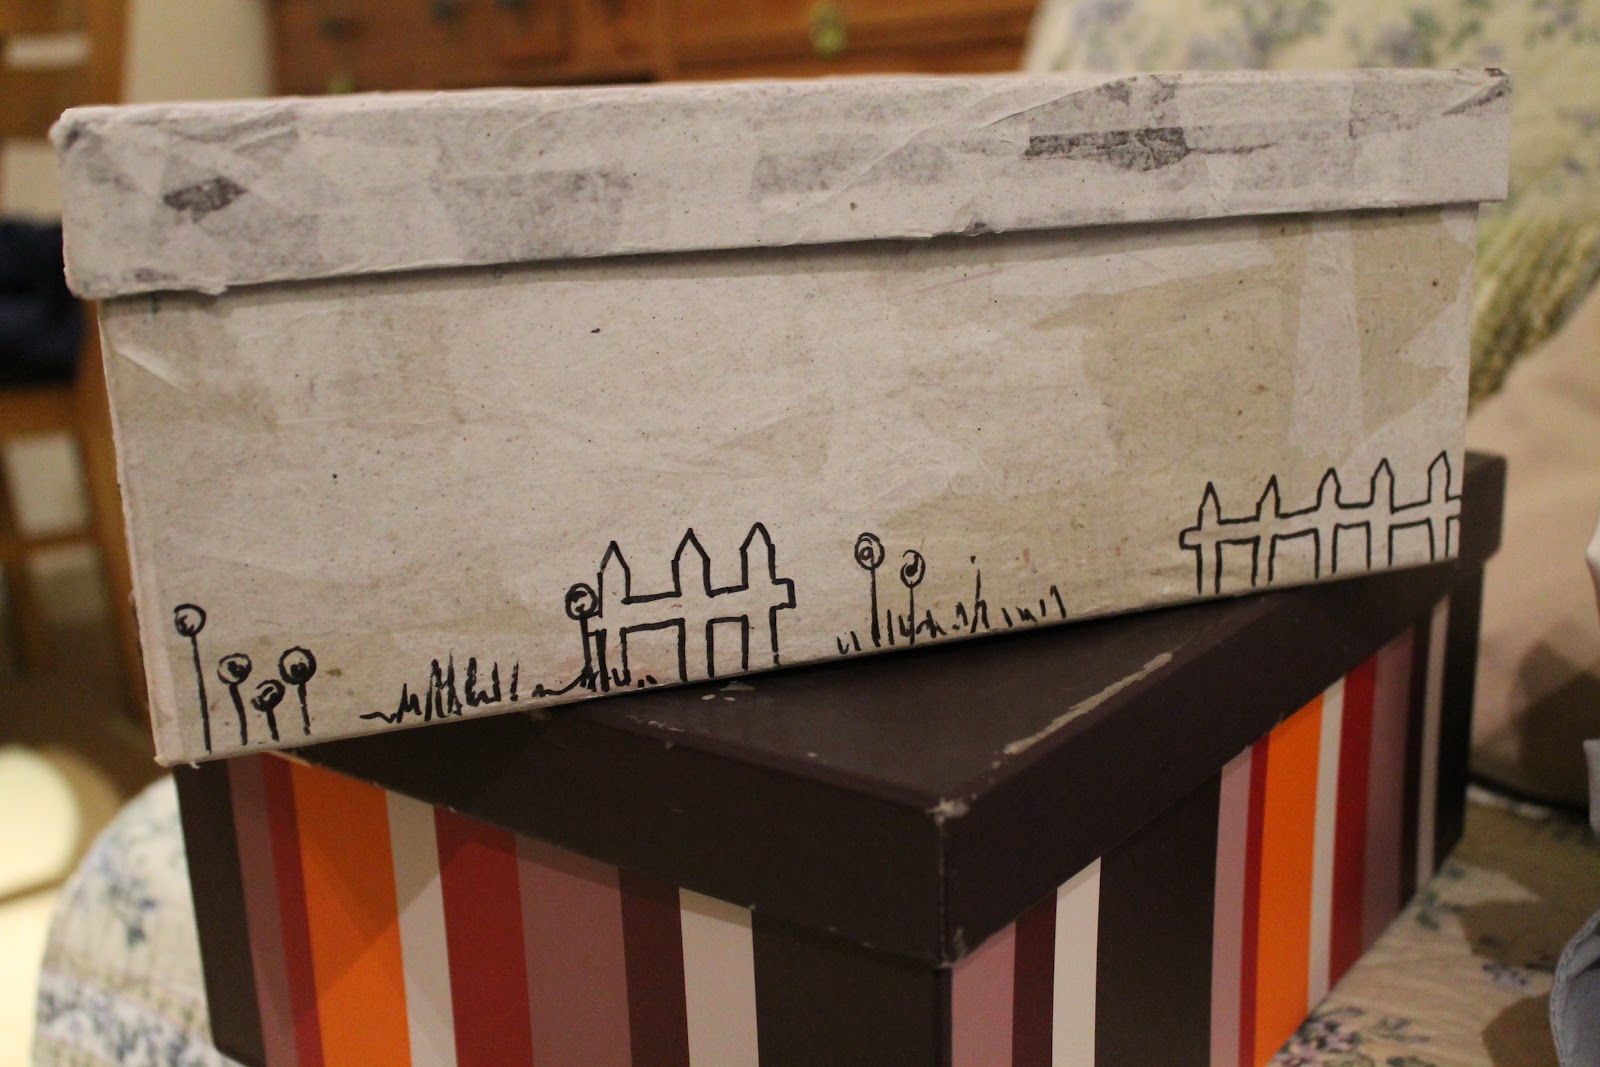
I wanted something quite plain so I left mine the colour of the paper and added a little cute hand drawn 'Picket Fence' design. You can go as colourful as you like, use paint, pens or even choose the top layer of paper to create a design.

Then all I have to do is decide what would benefit most from being stored away on my window sill.
Thanks for reading! Please let me know what you think by commenting below.

welcome to the world of tutorial blogs.
ReplyDeleteFantastic! I love my boxes! So many possibilities...
ReplyDeleteThis is a great idea, Emily. Just wondering how long it took to get a box completely finish - dried and all? Could you add some colour to the glue - wonder if old food colouring would work?
ReplyDeleteLooking forward to what comes next !
Gordon, it took me about a day to do two, leaving them to dry and giving them about three layers each! Adding colour to the glue would give you a nice subtle colour! Thanks for your comment!
ReplyDelete